As you can see, I'm not very good at surprises. I think this adorable recycled gift will make up for it. I used the same paper as I did for the scissors and they make quite a pair. All you need for this project is some scrapbook paper, glue or double stick tape, and an aluminum can.
I couldn't remember if it was better to use the ones you need to use a can opener with or the pull-tab cans. Um, don't use these. Ever. My hands are sliced up and sore. Instead, use the can that you have to use a can opener to remove the top. It creates a nice clean, smooth edge. Much safer.
Remove the label and wash thoroughly. Be sure to dry it completely before placing the scrapbook paper on the can.
If you use a razor blade to remove the label, you can use the label to measure the paper. Don't forget to include some additional width to overlap the pieces on the can for a nice clean finish.
Once you have the paper cut out, be sure to lay it on the can to make sure it's the correct size.
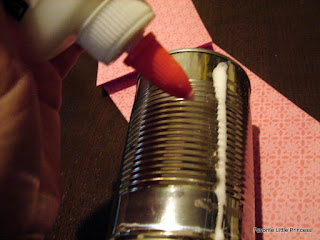
Use regular school glue to paste one end of the paper. You can also use double stick tape, but I prefer the glue. It seems to hold more secure.
Wrap the paper around and then place the glue on the underside of the overlapping piece. I folded mine over so that the glue wouldn't seep through.
All done and ready for those pens we made yesterday.
Seriously, how cute are these? I hope K2's teachers love them as much as we loved making them. Cute stuff and saving the planet, too!
Now, if I can just figure out what I'm going to do for that wedding cake I have to make. I must really love my kids.


Comments