
What an adventure this has been. Time to finish up my first quilt. If you are just joining, you can follow the links to part 1 and part 2. On my last post I had finished making the 6.5" x 6.5" squares. Actually, when I went to put them together, I found that they weren't exactly square. So I lost almost a whole day on this project tearing out stitches and re-sewing with the correct seam allowance. What a pain that was. Of course, I didn't find my seam ripper until after I had finished. After that was corrected, it was time to pin all the squares together. This pattern called for every other square to be rotated. You'll see later on.
 This is the first strip and you can see how the strips are rotated.

 Here are all the squares nicely put together and this time I managed to sew with the right seam allowance. Just like woodworking, measure twice, sew once!
 Time to put on the first border. It took me a minute to figure this one out because the strips weren't cut to the exact length. I'm sure they were just allowing for error, but it threw me off. I finally pieced it together.
 I spent a good amount of time ironing. It's just easier to sew over the seams if they all laying flat. I still hate ironing, but I do like how nice it makes it look.
 Onto the large outside border and then the top is complete.

 The backside fabric is placed faced down and then you sandwich the batting between it and the quilt top. The batting texture makes the fabric stick, so it can be a little frustrating trying to lay everything out nice and flat with no wrinkles. Time to pin into place.
 A lot of pins! I didn't want this moving anywhere while sewing together. I cannot stress enough how important it is to have plenty of pins on hand.
 After reading lots of posts online, I switching my foot to a "walking foot". It just helps the material feed through evenly. I had no idea what a walking foot was before this.
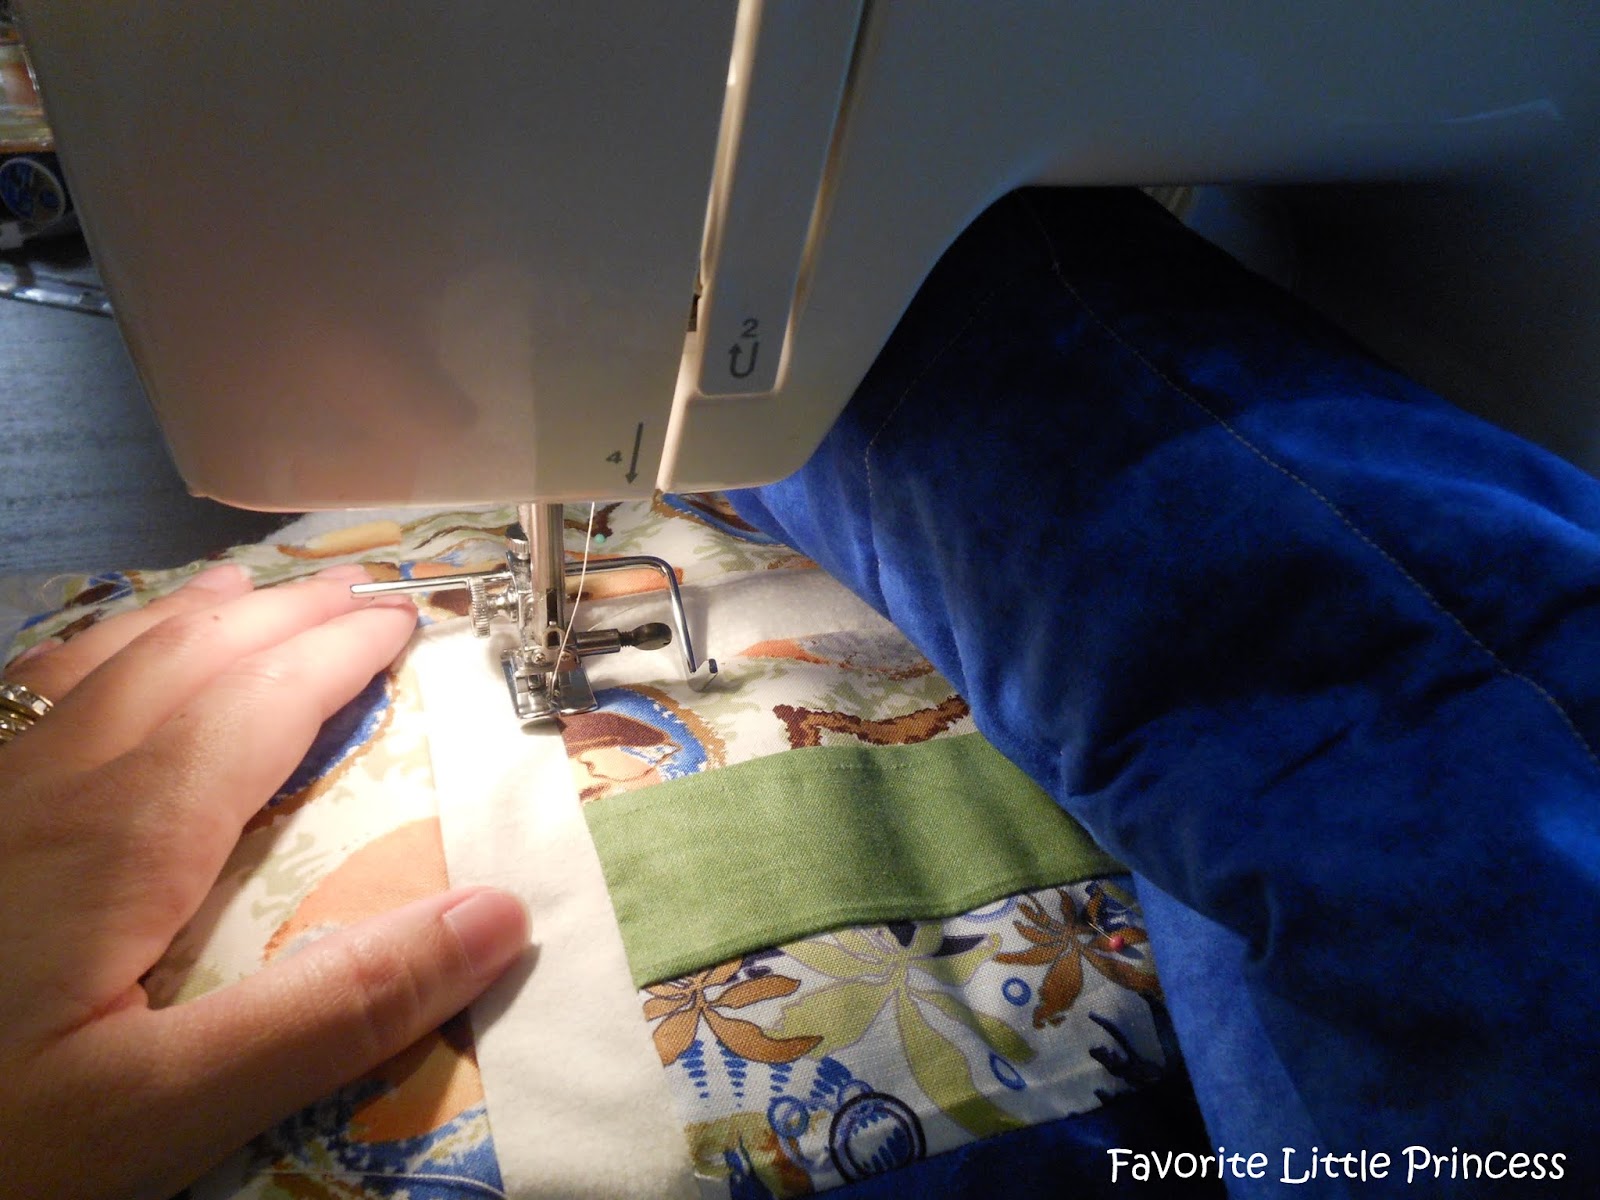
 If you roll the bulk of the quilt tightly, you can fit it through easier while sewing. Watch out for pins, though. I have never been poked so much in my life. I quilted what they call "stitch in the ditch" which is basically sewing on the seams of the pieced squares. Since this is my first quilt, I didn't have the nerve to try anything fancy. I sewed around the entire quilt and then followed the seams of the 6.5" squares. To keep from turning often, I just made straight seams up the entire strip of squares from one side to the other, then turned the quilt once and repeated lines up the other side.
 You can see the squares made on the backside. Very simple quilting for a beginner.
 Then it was time to trim the batting. I cut it evenly with the quilt.
 There was no way I was going to figure out how to add binding to this quilt, so I followed Dana's tutorial and used the backing by trimming it to one inch larger that the quilt around all four sides.
 Fold up to the edge of the quilt, then fold over again and pin.
 Sew around the edging while keeping the stitches close to the inside edge.


You can really see it coming together after I added the second strip of joined squares. This part went together rather quickly. Once again, it was just straight seams.


Then it was time to put it all together.


It's finished!

Last step was to add the signed label and then throw it in the wash. Now all I have to do is put it in the mail so it can be given away. Not bad for my first quilt. I'm not sure I will ever make a full-sized quilt. The bulkiness is difficult to manage as it is. Maybe with a little more practice. However, I'm pretty sure I'll keep this project in mind for future baby gifts. It was nice to do something different.
What are you working on this weekend?

Comments